
How to tile a Backsplash (from a novice who successfully tackled two!)
Let me start by saying: I was intimidated by this project, but it has turned out to be the project that I am most proud of, especially since I now have great memories of completing both of the backslashes in my home with the help of my mom! We both had never done any tiling before, but figured it out as we went, and so we have some tips and encouragement to share!
Step 1: Pick Your Tile (and Trust Your Gut)
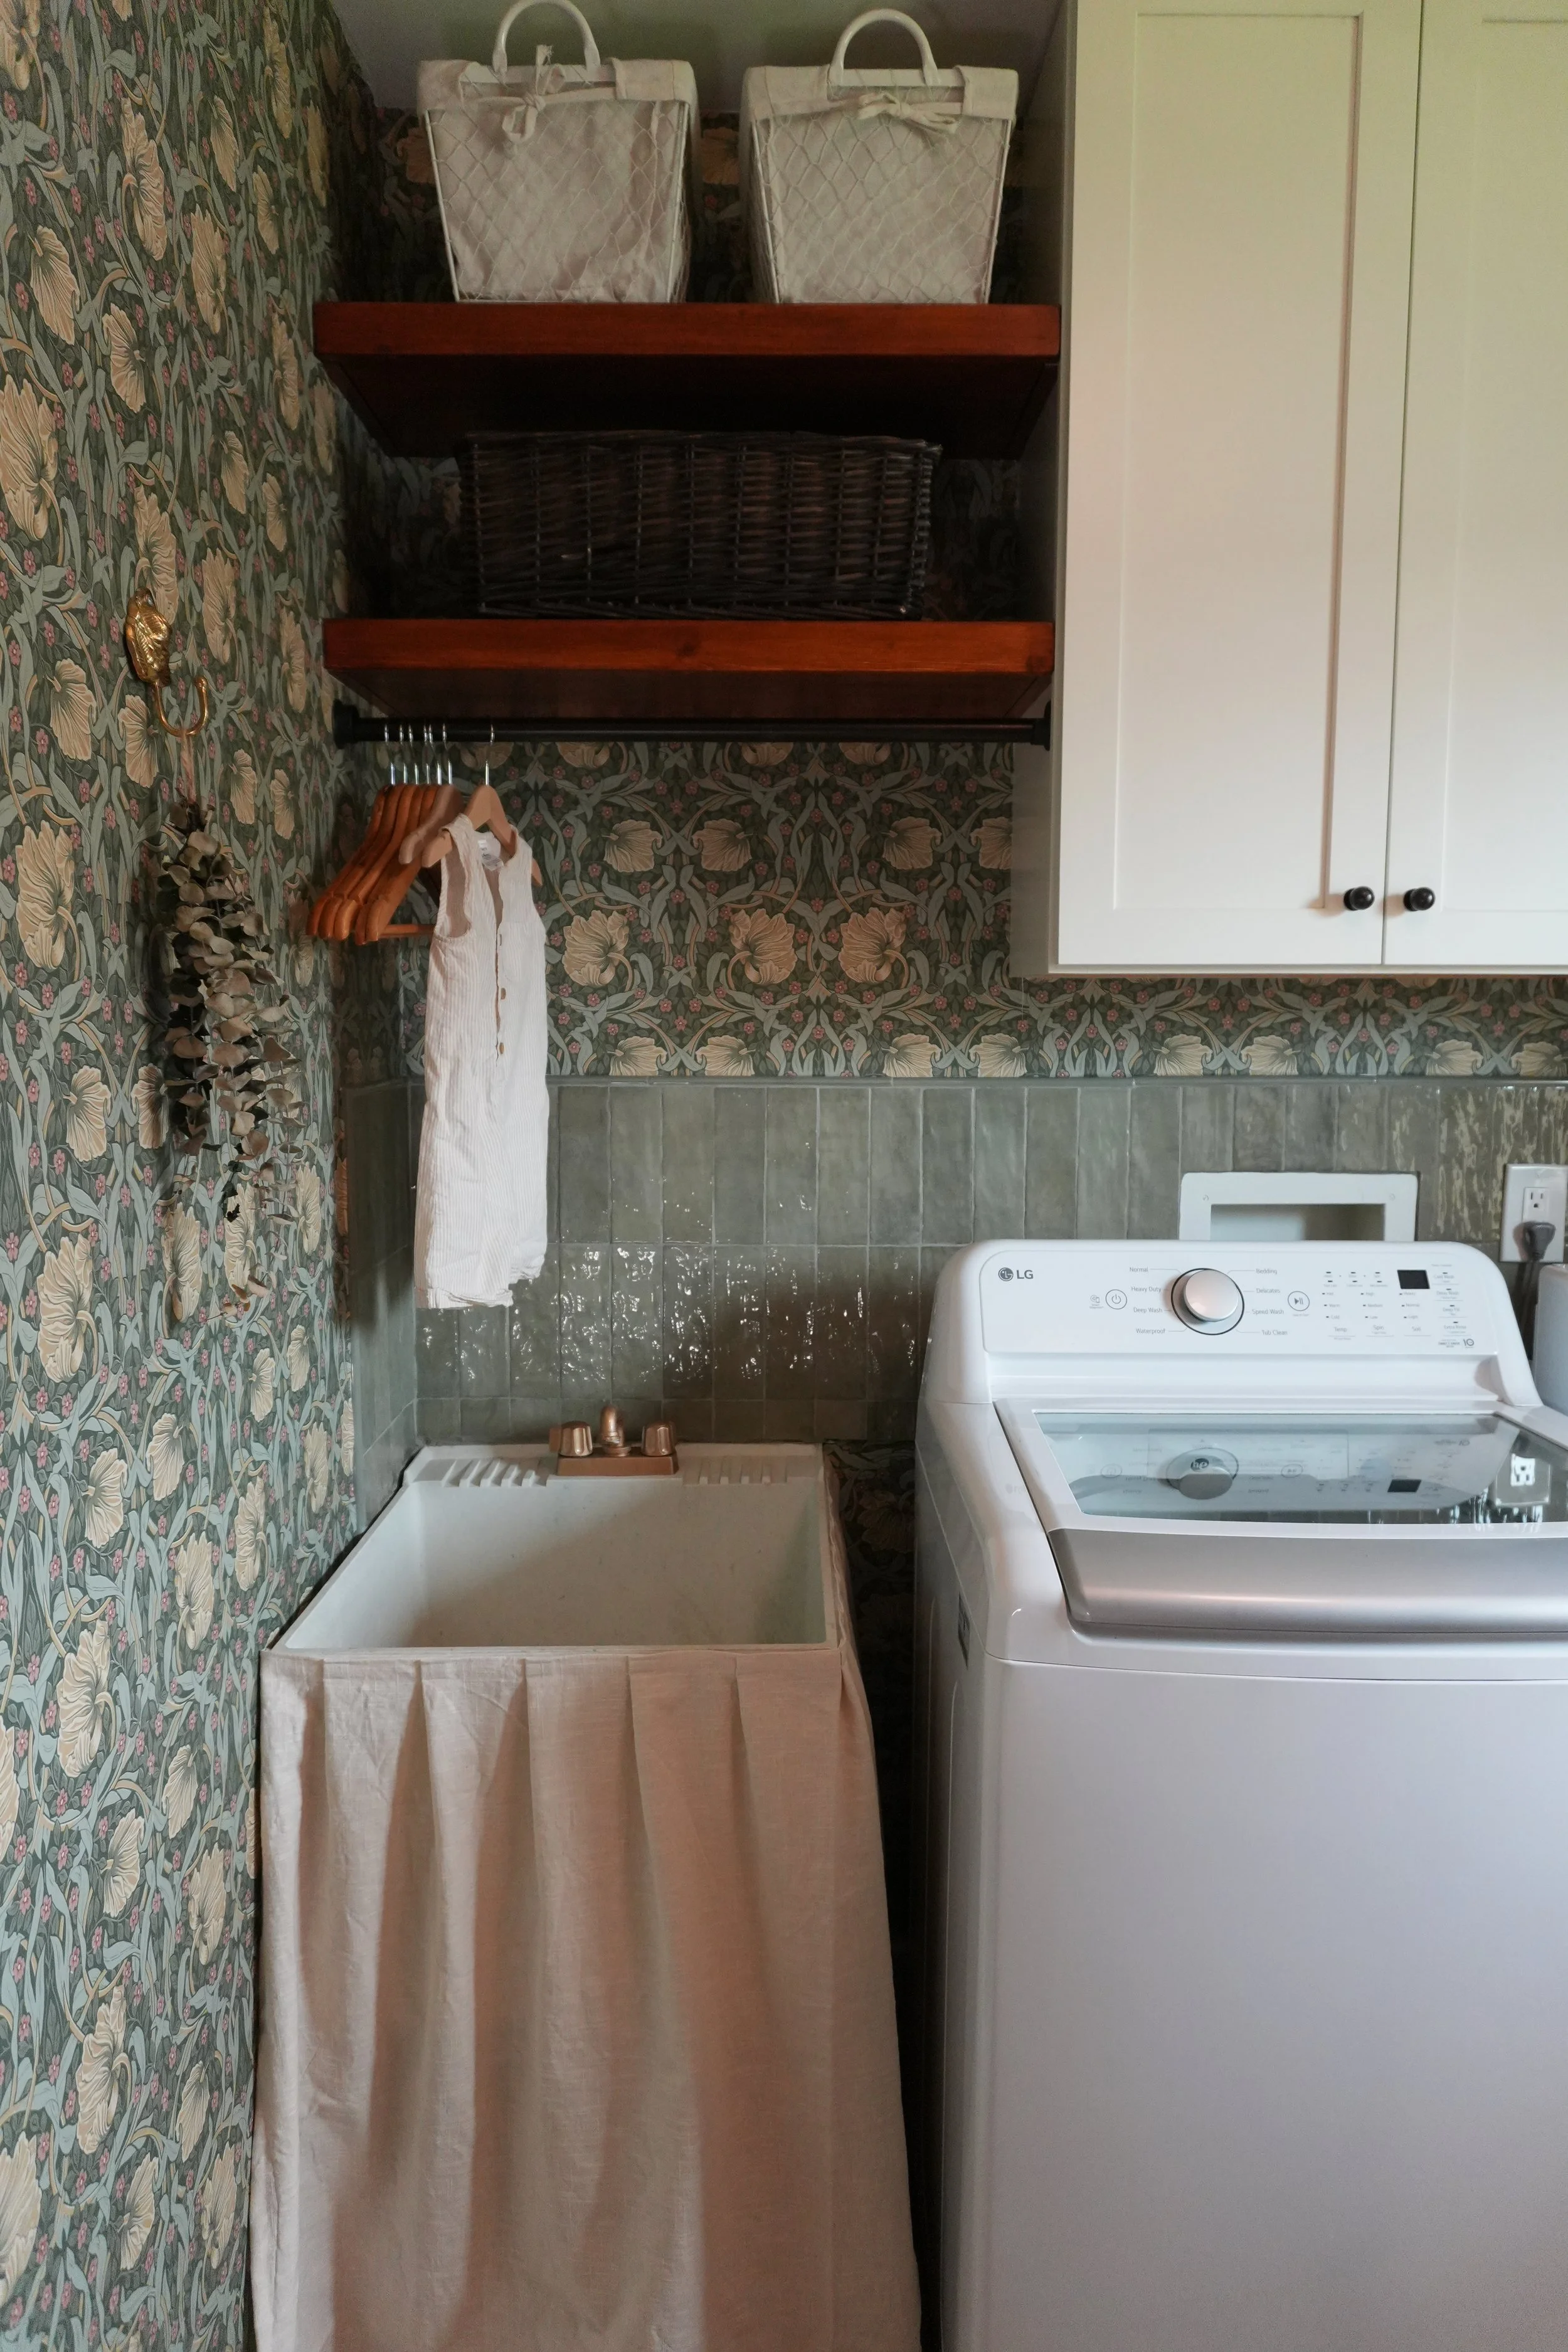
We have found the store Floor and Decor to be a really great resource for finding a variety of tiles. Prices range from inexpensive to pricey, but the good news is that a backsplash isn’t the most square feet, so you might be able to get away with a slightly more expensive tile than a room that needs it all over the floor. I love the look of the zellige tile, but it can be very expensive. I found this beautiful dark green faux zellige tile at Floor and Decor we ended up using it for our most recent project in the laundry room.
Step 2: Gather the Tools
Here’s what we used:
Tile adhesive (pre-mixed = less stress)
Notched trowel
Tile spacers
Level
Wet saw (might sound like a scary power tool, but the blade is actually dull and grinds the tile, which makes it very safe for operation)
Grout
Grout float
Sponge
Caulk for the edges
Sounds like a lot, but once it’s all laid out, it’s really manageable.
Step 3: Prep That Wall
Wipe down your wall and make sure it’s dry. Remove the covers if you have any outlets in the area.
Step 4: Start at the Bottom, Work Your Way Up
We applied the adhesive in small sections (so it wouldn’t dry too fast), then used the notched trowel to spread it evenly. Then we pressed the tiles on. We opted not to use any spacers to get the thinnest grout lines to mimic authentic zellige tile. But you could use spacers to keep the gaps even.
Step 5: Cut as You Go
We worked as a team. Mom made all the special cuts for around outlets and corners, and I applied more mortar and full-size tiles. I used a crayon for marking exactly where odd cuts needed to be made. And would pass her those tiles to take outside for the cuts. The tile saw needs to have water in the basin under the blade so it remains wet and can properly grind down the tiles with the blade. It sprays water everywhere, so be prepared to get messy!
Step 6: Grout Day!
Once the tiles were fully set (we waited overnight), we mixed up the grout according to the directions in the bag. We lost our float somehow, so we used our gloved hands, which wasn’t ideal, but got the job done during my 1-year-old's nap. After we wiped off the excess with a damp sponge and waited for it to haze over, I polished it up. This is such a satisfying moment! Enjoy it!
Step 7: Finish the Edges and Celebrate
Caulk where the backsplash meets the counter or cabinets for a clean finish. It’s like eyeliner for your kitchen—it pulls everything together. We had edges that were facing outward, and we wanted to them to look pretty, so we used pencil trim tile from the same collection at Floor and Decor to finish off the edges using the same mortar and grout. You could also use a Schluter tile edge, which would be a more affordable option.
Final Thoughts
Was it messy? Yes.
But have both my backsplash projects been some of the most satisfying projects I’ve done in my home yet? Absolutely!
This little project gave me the confidence I didn’t know I needed. So if you’re sitting there thinking you might want to try a backsplash, just go for it.